Complete pitch range from ultra-fine 0.5mm for compact mobile designs to standard 2.54mm for development boards. All pitches available in multiple pin counts and row configurations.
Controlled stacking heights from 3mm to 30mm for precise PCB-to-PCB spacing. Custom heights available for OEM designs where standard dimensions don't fit.
From signal-grade 0.5A (0.5mm pitch) to power-grade 5A (2.54mm pitch). High-current BTB variants available for mixed signal and power applications on a single connector.
Both mezzanine (vertical stacking) and coplanar (side-by-side) configurations. Mezzanine enables compact multi-board assemblies; coplanar suits modular daughterboard designs.
SMT versions in tape-and-reel for pick-and-place automated assembly. DIP through-hole versions for wave soldering. Both packaging formats available from stock.
All board-to-board connectors comply with RoHS 3 (EU Directive 2015/863) and REACH SVHC. Suitable for EU, North American, and all regulated export markets.
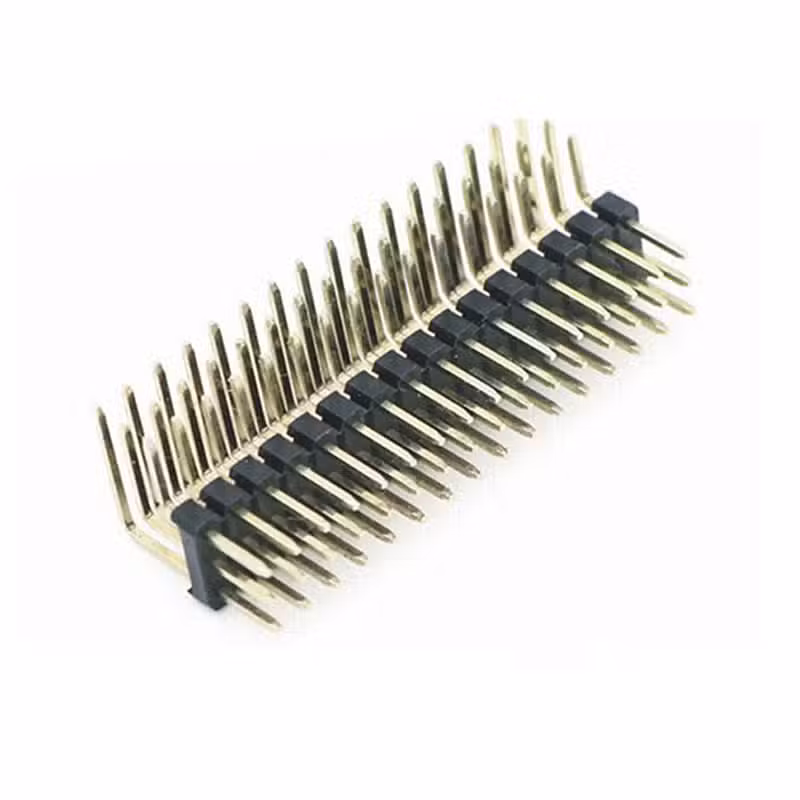
Shenzhen Vistar Electronics Co., Ltd. is a professional board-to-board connector manufacturer based in Pingshan District, Shenzhen, China. Our BTB connector product line covers all standard pitches from 0.5mm to 2.54mm, including mezzanine stacking connectors (3mm to 30mm heights) and coplanar configurations. Pin counts range from 2 to 80+ positions in single and dual-row formats.
All board-to-board connectors are manufactured in our ISO 9001:2015 certified facility with gold-plated phosphor bronze contacts, high-temperature LCP insulator bodies, and stainless steel retention hardware. Available in SMT tape-and-reel and DIP tray packaging for automated and manual assembly. Fully compliant with RoHS 3 and REACH SVHC regulations.
We supply OEM and ODM customers in 50+ countries across consumer electronics, industrial automation, medical devices, automotive, and telecommunications sectors. For related interconnect products, see our FPC/FFC connectors, wire-to-board connectors, and USB-C connectors. Contact sales@vistarelectronics.com for samples and bulk pricing.